Okay, have some pictures and details on the CQ Dazzling Diamonds Sew Along. First, here are the fabrics I'll be using...
I know, I know...totally outside of my "pastel wheelhouse"...but these are such luscious tones in beautiful autumn greens, yellows, reds...with a real subdued hue. The top two fabrics will be my inside/outside borders. They are Agate Batik-Dk Ruby Dust and Labyrinth Batik-Verdigreen. The other fabrics are from the Autumn Sunset Batiks FQ Bundle (as you can see by the tag). These will be available on Connecting Threads in mid October (scheduled for launch on the 11th).
So, we will begin the "sewing portion" of the Sew-Along on the 15th which will give those of you time enough to get these specific fabrics in the mail if you want to use the exact same ones as I'll be working with. Not required...as we crazy quilters do love to "do our own thing".
But, I wish you could just see and feel these fabrics...they are just wonderful.
Okay, the next must have that you will perhaps to order if you don't already have it in your library...the book of course!
Your other supplies will be standard threads (perle cotton of course); beads, silk ribbon, sequins, etc. If you want to all in lace motifs, etc. that is also your choice but not required by the designed quilt. We'll just see where creativity leads us in this endeavor.
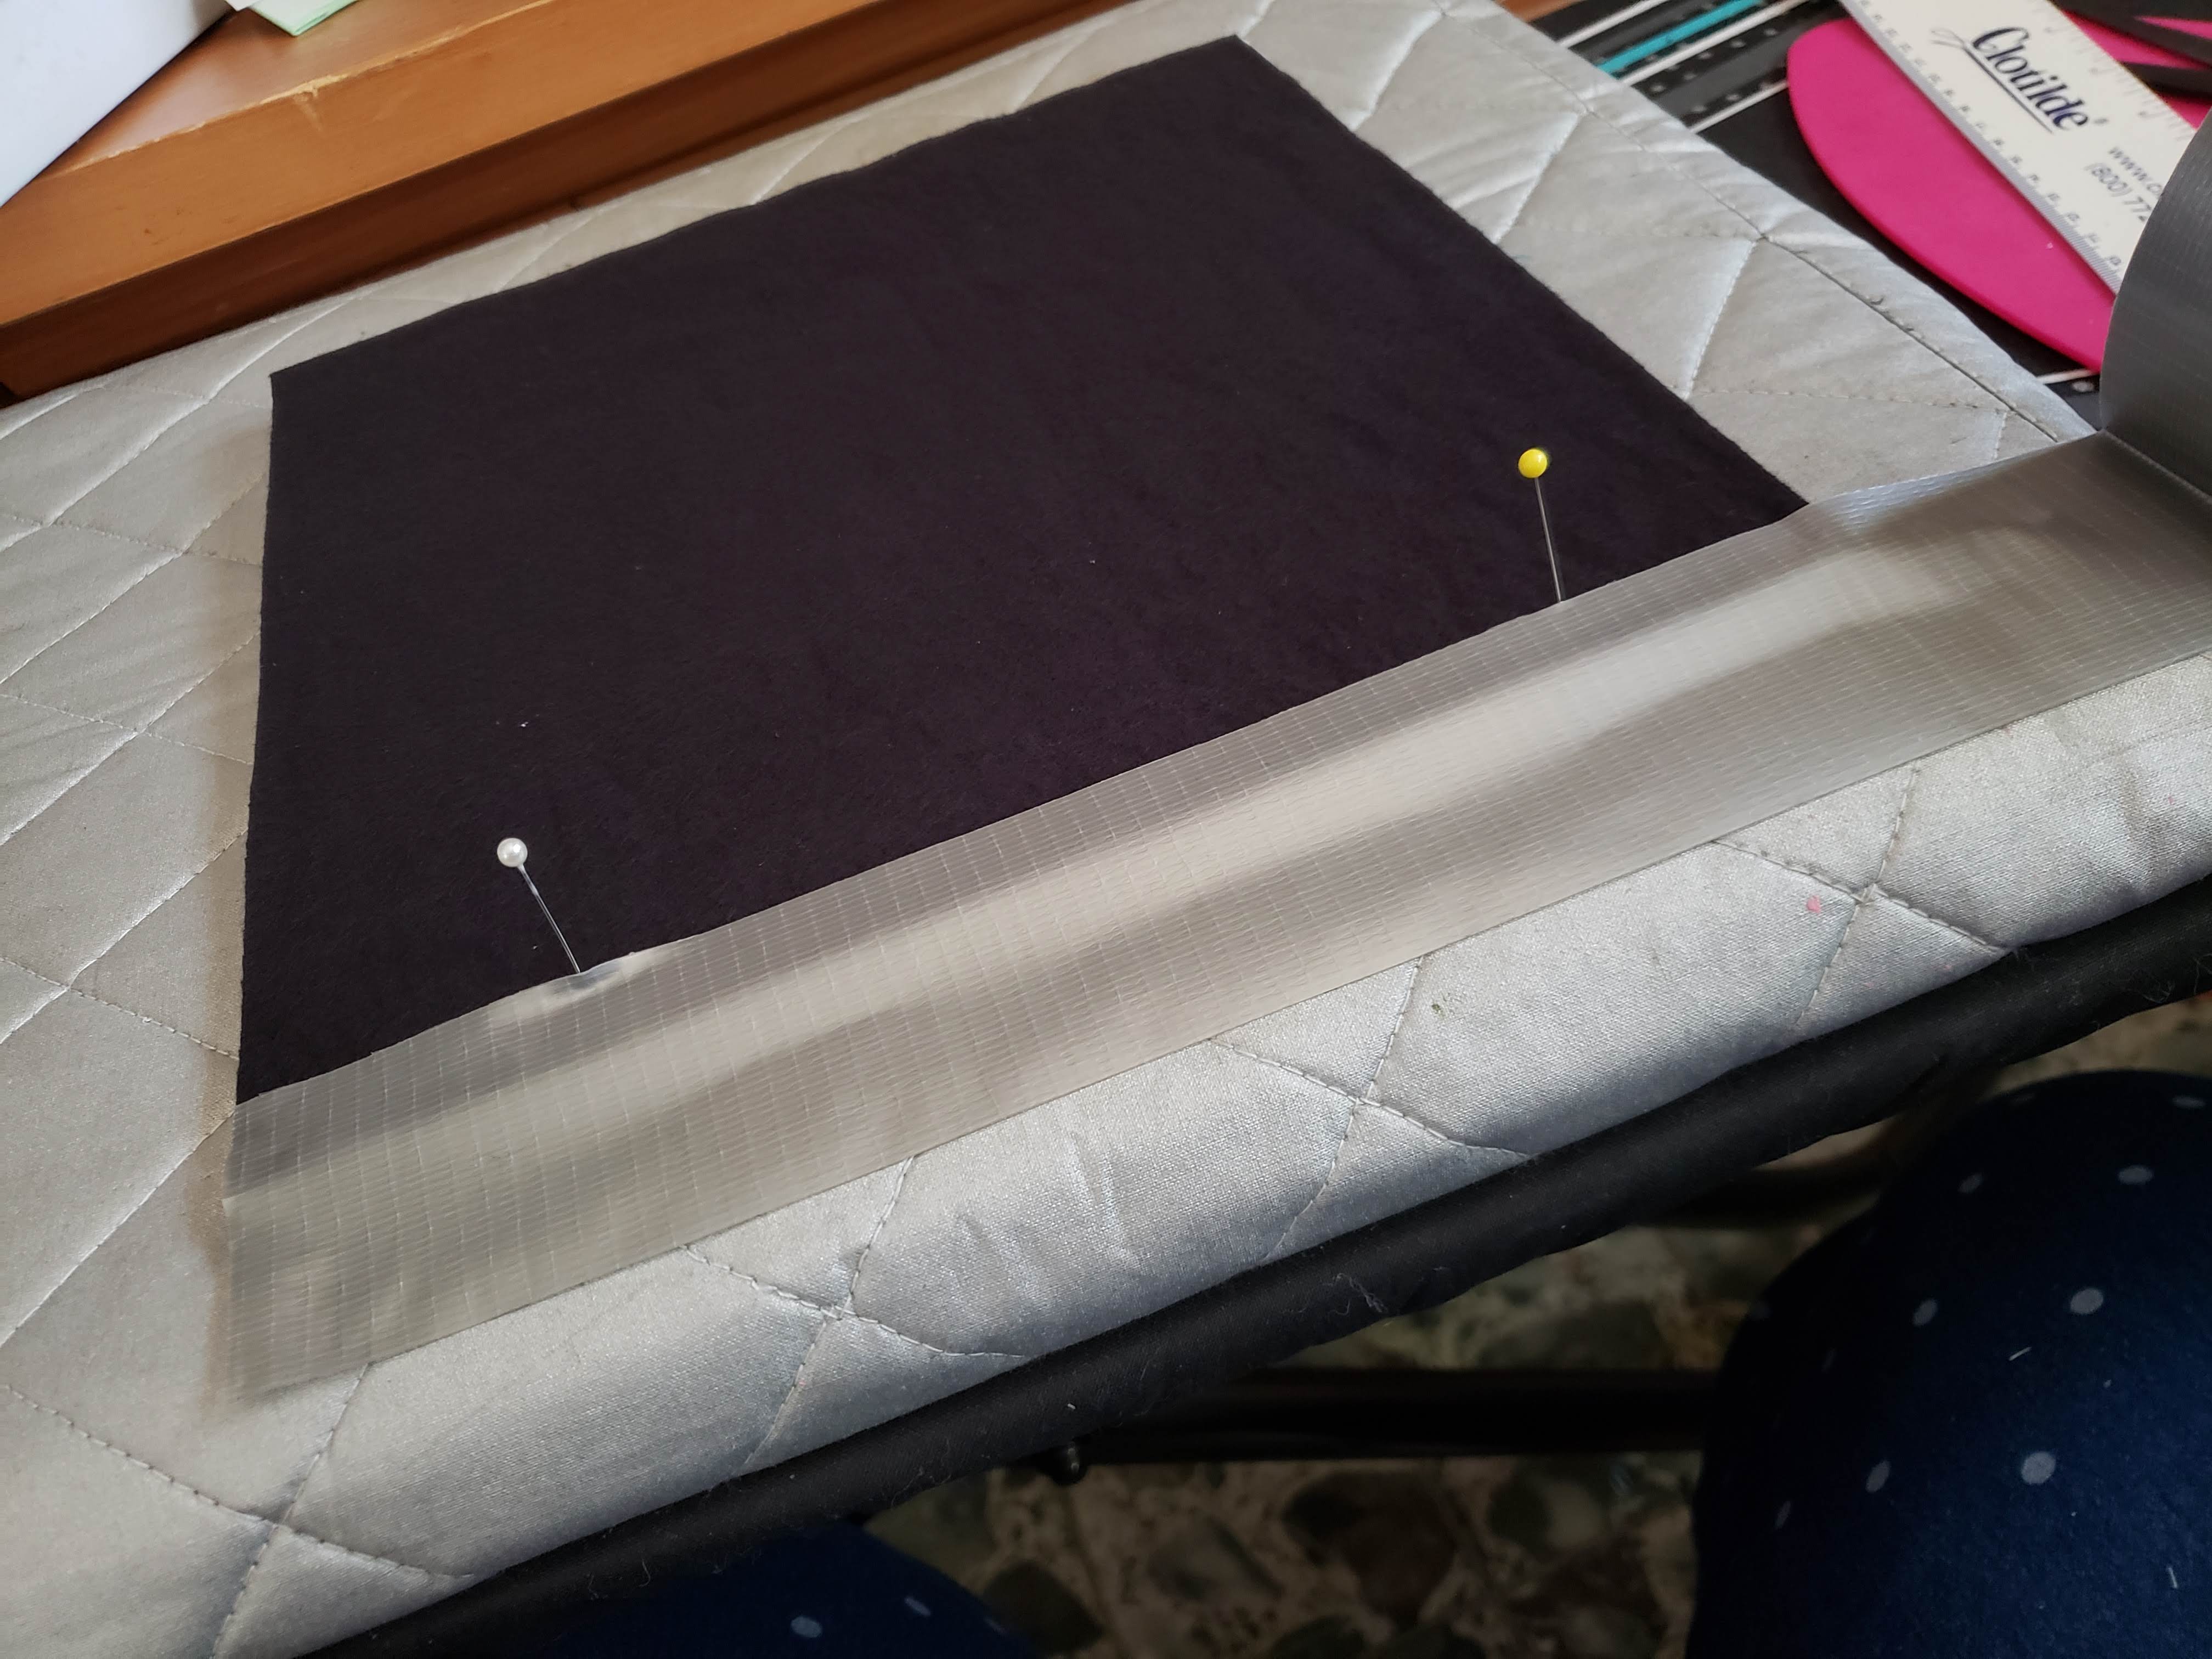
Marking the Embroidery Designs: Because I'm using some darker fabrics, it is good to use some water soluble sheets for printing the embroidery designs on to. (A link to a pdf download file is in the book on page #16 for your use.) Option #2 would be to scan the pattern layout pages, then upload them to your computer. This option would also allow you to resize the blocks if you prefer to work this in a different size. Option #3 is to simply use tissue wrapping paper and trace the embroidery designs to that, then tape/pin in place on your fabric block...and stitch through when you embroidery the base seams.
We will kick off the Planning and Pre-Sewing portion of this Sew Along on the 1st of October...with actual block assembly beginning on the 15th. So, get those books, fabrics, and water soluble printable sheets (or tissue paper) stocked up in your sewing room soon. Hugs!