Wednesday, December 7, 2022

Love/Hate Relationship with Lori Holt

 I'm working on "Granny's Garden" by Lori Holt...a Riley Blake design quilt. This was a Sew Along...past time (of course, I'm never starting a project the same time as everyone else).


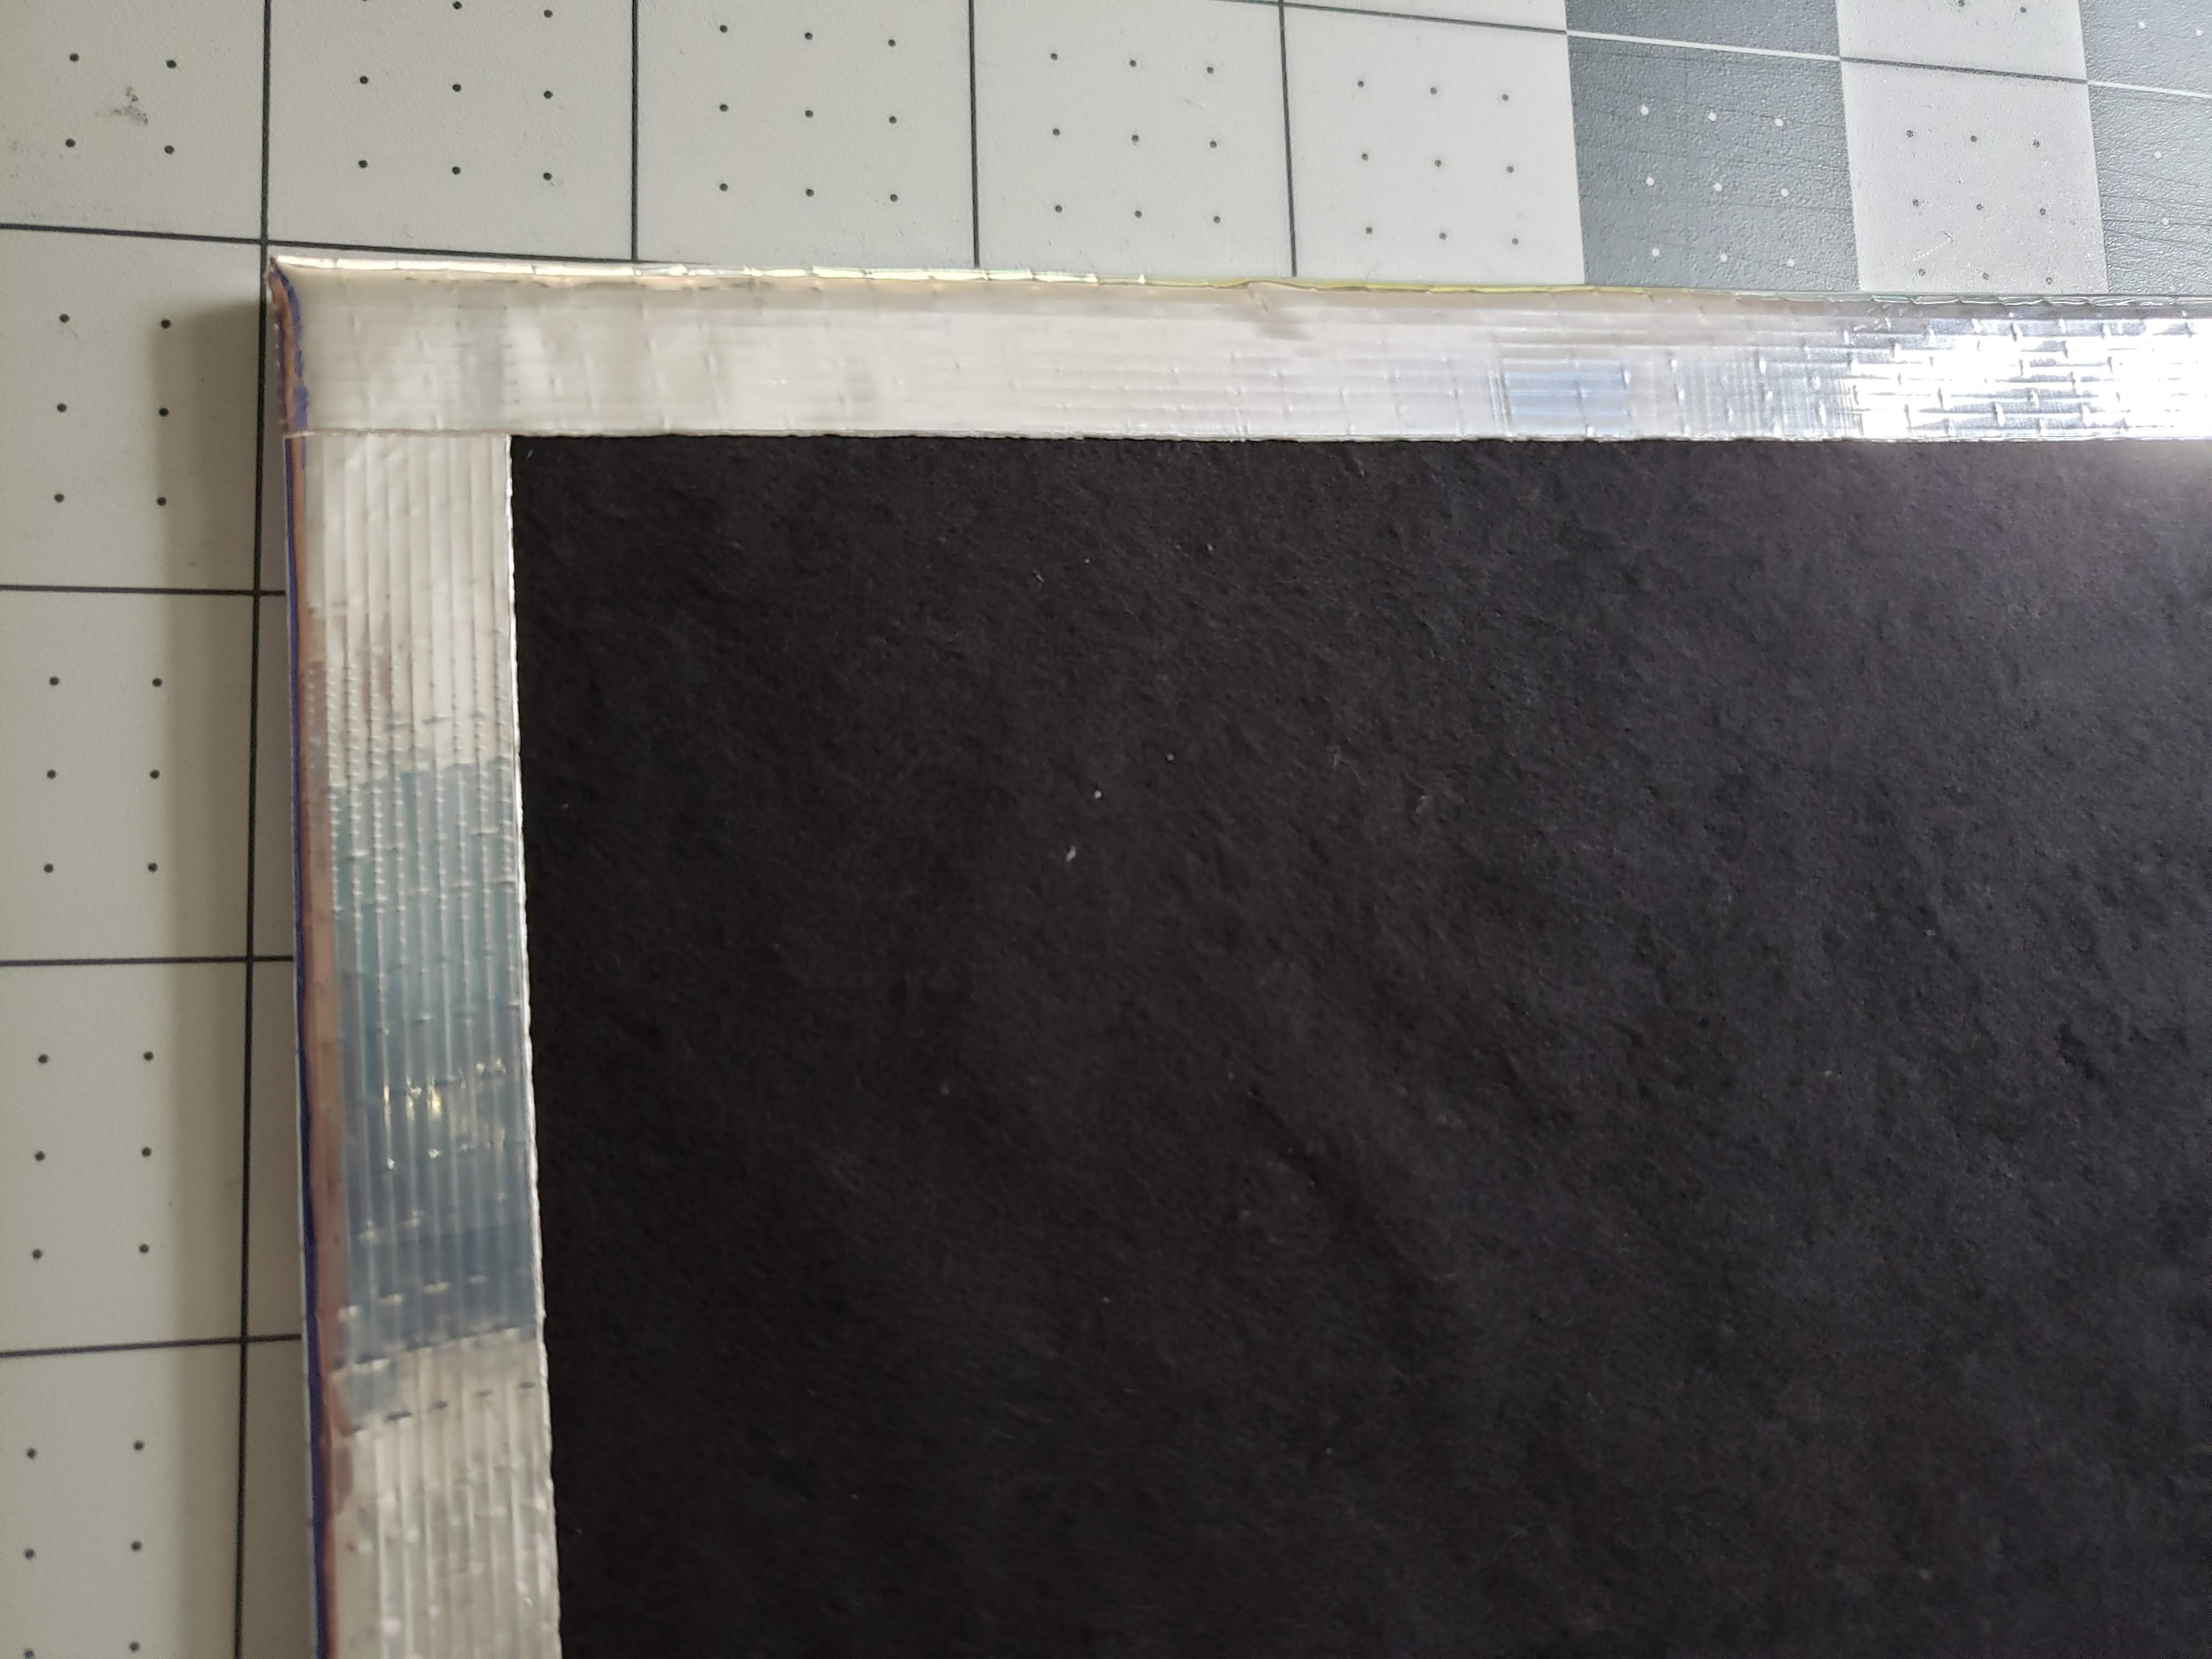
Its a great quilt IMHO...but is becoming so time consuming. There are 42 blocks and each has a background floral print and a circular center. Florals re cut and the centers are created (fabric with fusible backing creating an applique circular shape)


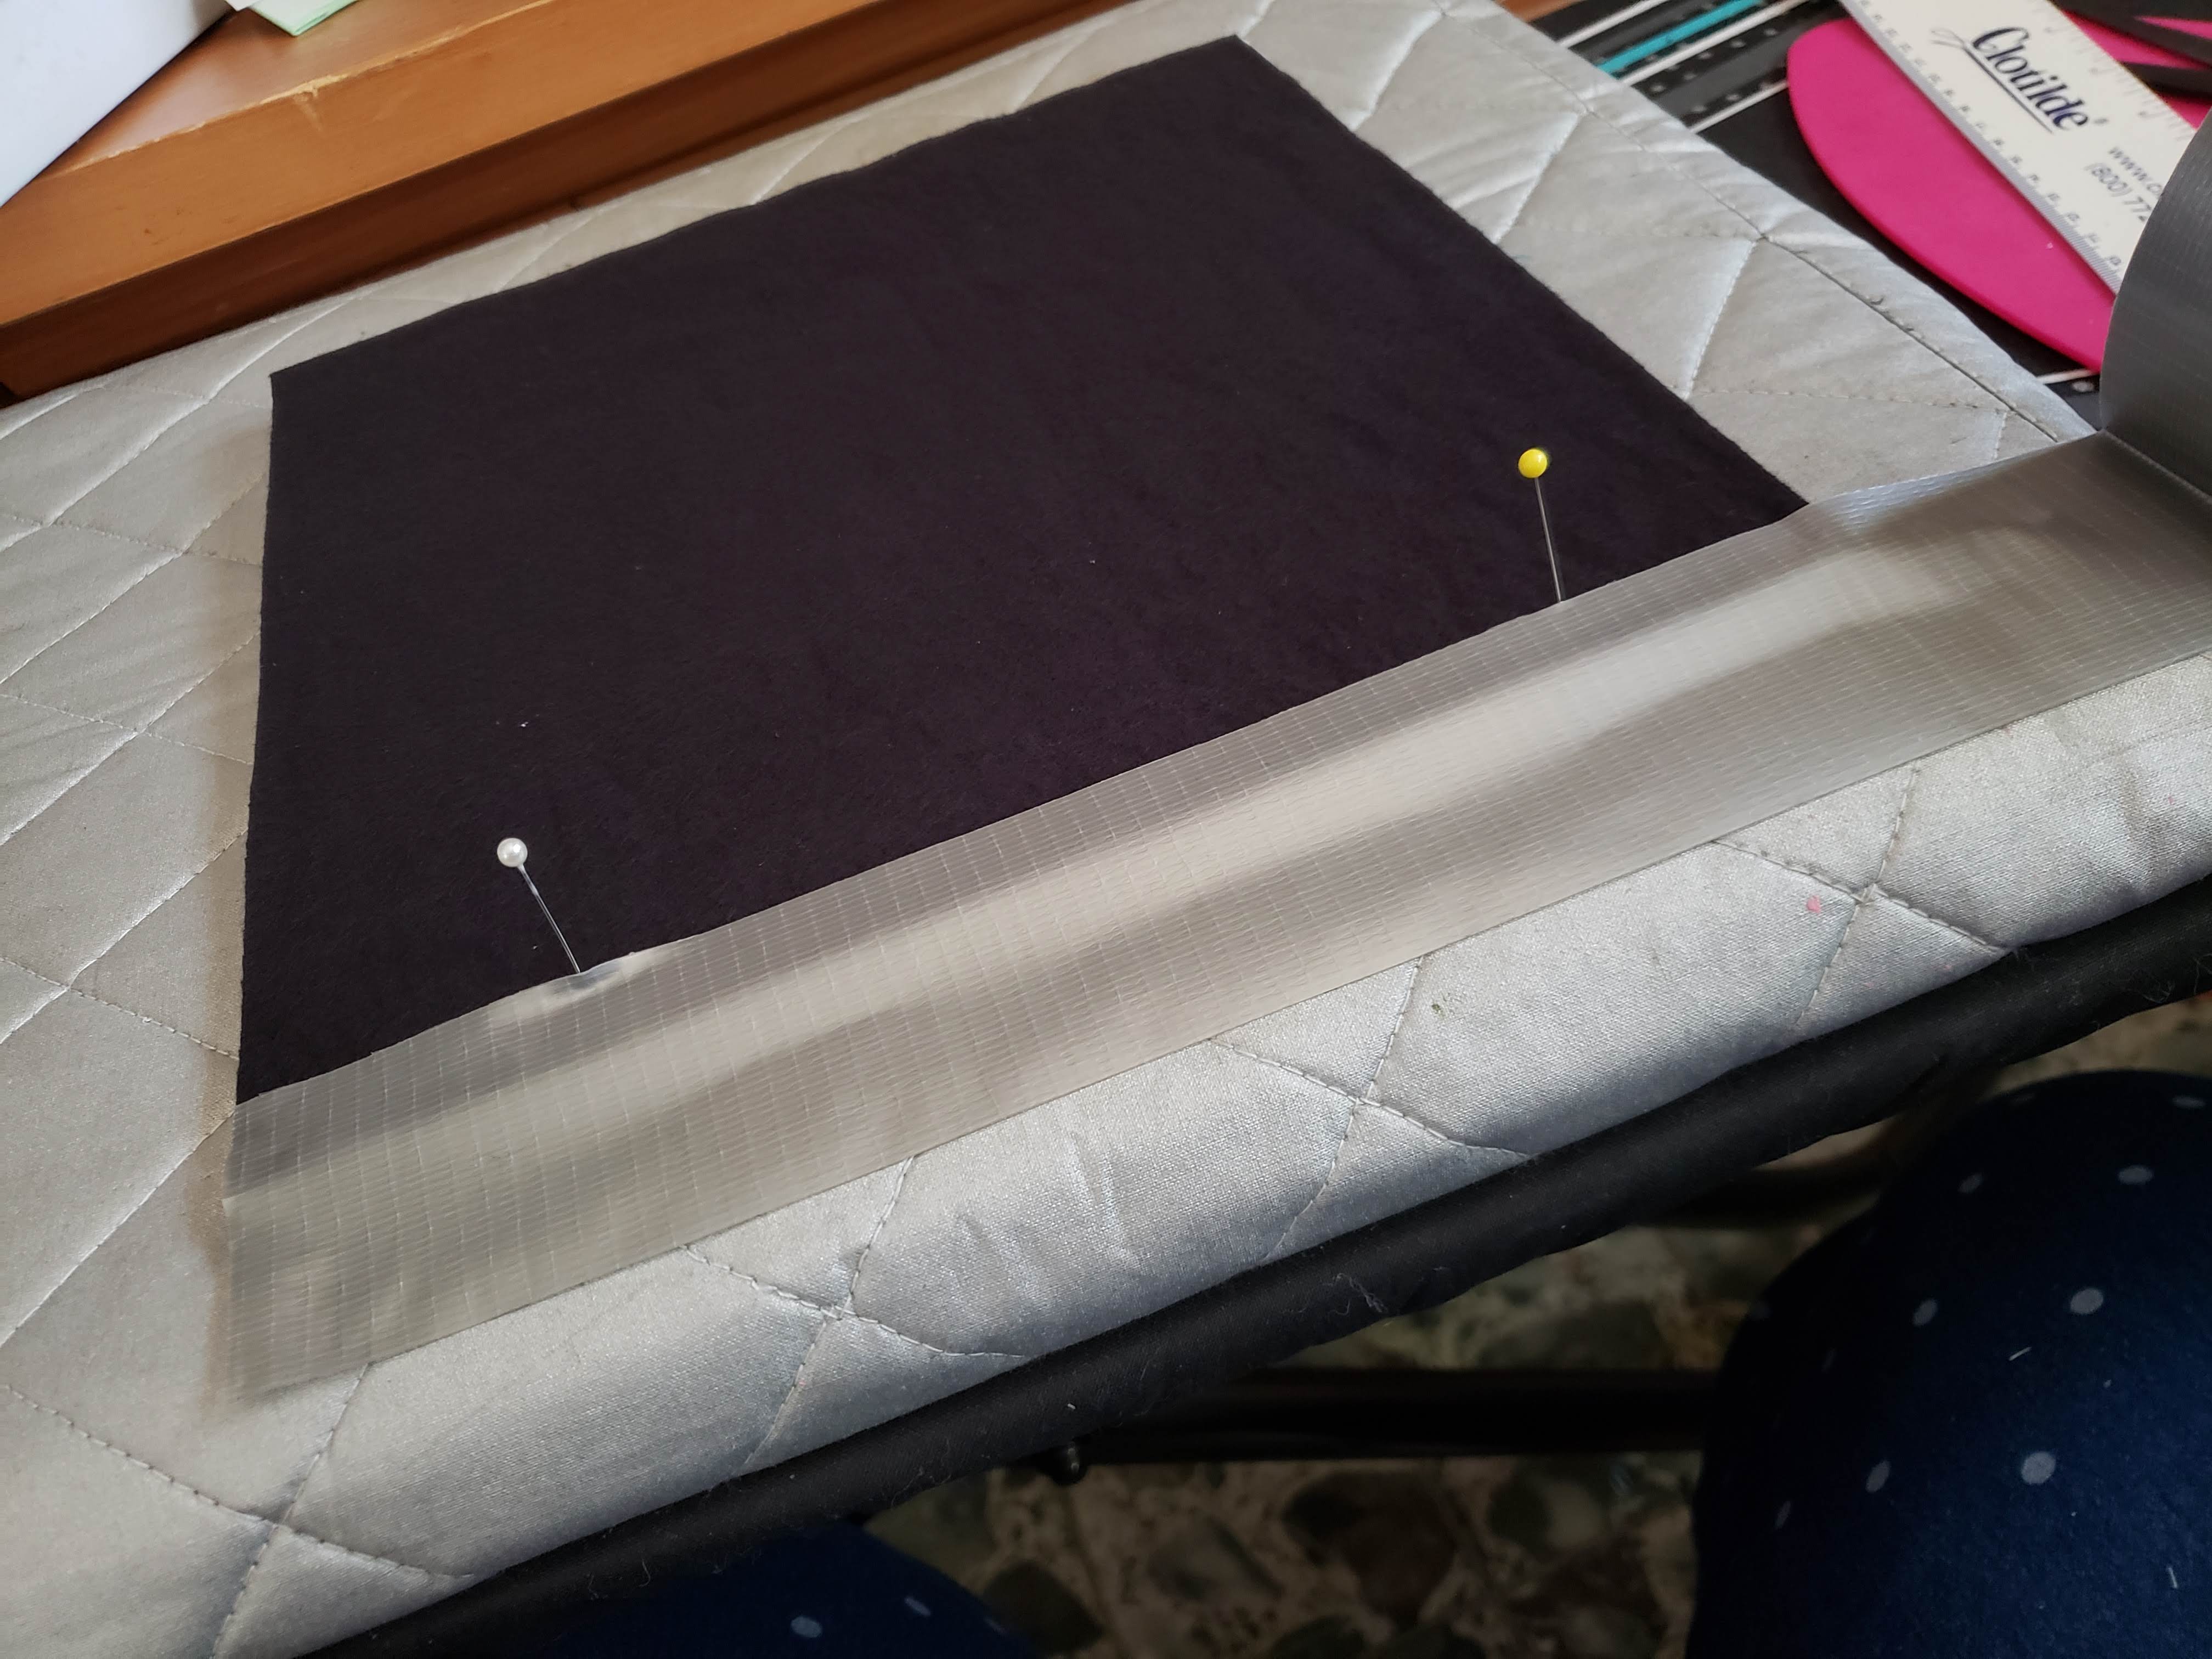
The center of each block has different applique shapes. Each is created by first tracing the applique shape on to interfacing, then sewing that to fabric...and clipping/turning to create pieces with turned under edges.


I have about nine more blocks of shapes to create. But, all of the interfacing has been marked; so only the sewing, clipping and turning is needed.


I'm using my 99K Singer as it can be helpful to only stitch 3 or 4 stitches at a time with all of the small pieces with curved edges at times.


I have been steadily working on this quilt for over a week...several hours a day. It is enjoyable, but am now thinking that by the time I get all of these bits and pieces "glue basted" then hand appliqued...it will be Spring before I get to the actual quilting part. But, it will be a great quilt when completed.


I do like that the parts are usually large so at least I'm not doing too "fiddly" of work. Will keep you posted on my progress. Has anyone else following done this quilt? I'd love to hear your thoughts and see a photo. Hugs!

Saturday, November 26, 2022

Butterflies Progress


I've liked this Butterflies pattern by Laundry Basket Quilts for some time now. Thought I'd do a slightly different layout with some batik fabrics. Wanted to use what was already on hand, so grabbed a layer-cake of batiks and some light background fabrics. The pattern uses blocks that are about 10" finished...but I didn't have enough batiks for so many blocks. So, cut my backgrounds at 12" finished and inserted some sashing between the rows/columns to fill out the size.


Found a trio of batik fat quarters...just enough to cut the sashing at 1.5" finished (2" cut). Here is the grid layout (yes, I didn't make the bed this morning).


These butterflies are hand appliqued with turned under edges. The antennae are embroidered using Stem Stitch in black. I like the pattern so very much, thinking about doing a fusible version wall-hanging for myself (or maybe a grand-daugther?) as well when this quilt is done.


Tuesday, November 15, 2022

Let's Fly a Kite

 Our quilt guild had a little challenge...and we could "share them" today. The idea was to make a quilt that had at least twelve blocks...of any size/type...and the quilt needed to include a traditional elongated diamond shape of a kite.

This was my entry...and will be going to my grand-daughter that turns 3 years old the beginning of next year.


This photo was on my design wall, so borders had not been attached...but I think you get the idea. The little girl is dimensional applique and the kite is standard applique.


Here's the close up view of the little girl. Her hat, blouse, boots, and body are standard applique. The skirt is a couple of layers of lace...gathered and tucked under the vest before it was appliqued totally into place along that lower edge. The hat has a packaged flower attached. Her hair is made from long bullions using #5 variegated floss from Happy Hands.

The blocks are simple quick stack/whack neutrals. This quilt was fun and make up pretty quickly. It measures about 24 by 30 so should make a nice doll size quilt for Evie.


Tuesday, November 8, 2022

Adventure of Design - FREE Pattern

 Each year our quilt guild does a little "gift baggie" for members; if folks wish to contribute then then make (or obtain) a little item to include into the baggie. I've been toying with several ideas for this year...and one of them was a "donut" pin cushion that I saw on Pinterest. The idea has evolved...and I thought I'd share the adventure of designing with you...and give you a free pattern or two as well.

Donuts on Pinterest are the traditional type with the hole in the center. But, that was more work than I wanted to do since I would be making forty of these. So, why not a "filled donut" with glaze and sprinkles instead.


 So, I pulled out some pink felt and cut the "flower shape" for the donut glace portion...then found some cream upholstery weigh damask for the background and back layer of the donut. Spent two days hand stitching each glaze felt piece to one of the backgrounds. Next...sewing on those beads! THIS is about the time that my enthusiasm gave way to reality...there was just no way that I had the time to sew on ALL of the beads needed to really make these pincushions great. So, "plan B" entered my brain.

Embroidery was so much faster...and still very beautiful. So, why not place an embroidery scene on the felt background? But what would be a good design? Off to the computer again...and a rose sprig was my solution.


It fit the shape of the "glaze" nicely...and could be worked up much faster than stitching thousands of beads.


So, I'm off to transfer the design to some tissue paper for over-stitching to the felt (since you can't really trace on to felt easily). I'll post a photo when one of these forty pincushions is finished. Wonder how the design will FINALLY play out...might still have to add a couple of beads or some French Knots? 

Two patterns resulted from this design adventure...and here are links to each if you'd like to give these pin cushions a try:

Sunday, November 6, 2022

NOEL - Free Pattern Download

 Planning for holiday decorations? Yeah, I know...it's not even Thanksgiving yet. But...you know that "planning" begins when we start to think about all of the winter holidays.


Thought a nice new holiday pillow might be nice for this Christmas. So, played around with a design today. Thought that my readers (you) would possible enjoy creating this in fusible cotton or wool fabrics. If you do, I'd love to see a photo of your creation!

The letters could be any color...here is a gold version (but blue or purple could work as well).


The holly for the sheep is nice...but a "jingle bell necklace" is another idea if you want this to be more of a winter scene...and not specifically holiday themed.

Here's the link to download the pattern:

https://drive.google.com/drive/folders/11n6LFf1oclfBF97TG0pHyA0CttsOcstR?usp=sharing


Saturday, November 5, 2022

Quick and Inexpensive Tip - Fusible Mat

 I'm working on a holiday dishtowel which is a fusible applique project.


These are the layout tools I'm using, and one of them is really inexpensive and handy to have around. 

The printed pattern sheet is on the right, the light box (black border) is in the center, and a pressing mat (red border) is on the right.
Surprise! The pressing mat is actually a baking mat...that is designed for placing on a cookie sheet for baking. But, since the center area is white....it is pretty "see through".


As you can see in this photo...the pattern is on top of the light table but under the baking/pressing mat. So, it was easy to layer the fusible applique pieces and "spot weld" them together. Then the entire scene could be moved to the fabric tea-towel for pressing into place. I did encounter a problem...not related to the mat; the white "wool" for the snow just would not adhere to anything...thinking it must be more synthetic than wool (false advertising...dang it)...so had to go back and pin each piece of snow into place. (hence the pins in the top photo).

Anyhow, this post is about using an opaque "baking mat" in place of a more expensive mat designed for applique. I found this mat at Dollar General in their clearance section for 3-bucks! It was 50% off...so regularly priced at only six-bucks. Think these could also be a Dollar-tree item..and will be looking there in the kitchen area for such great finds too. I know a few quilting sisters in my guild that might like one of these.


Friday, October 21, 2022

Quilt Repair Underway

 A lady in our area asked me to repair a quilt made by her Grandmother/Mother. Thought the approach might be helpful to others so, here is what's happening to the quilt.


Several seams are partially, needing repair. These I mark with safety pins during my inspection of the quilt (so I can find them later). They are closed using the Applique Stitch (Ladder Stitch).


Some patches have already practically disappeared, so these have to be completely removed.


New patches are appliqued into place. The old batting has been removed since it is just crumbling or already missing under the older torn patches.


 A thin batting is cut the size and shape of the needed patch, then surrounded with fabric. This new patch/batting combo is then appliqued into place. I sew only through the top layer of the quilt.


I've selected a variety of smaller prints with lower color density to match the look of the quilt. When the patches are finished I'll hand quilt these areas to complete the task.

Sunday, October 16, 2022

Catching Up - Mid October

 Good morning! Hope everyone is doing great and enjoying these slightly cooler days. It will be time to drag those coats out before we know it. I've been busy as usual, and thought I'd catch my readers up on what's going on. First off, I'm trying to get a few small classes going one-on-one at the local artist shop in Jacksonville, Alabama...and her is my first student. Linda is learning how to embroider and she did a great job of her first project.

My granddaughter is almost 3 years old now (doesn't she look just like her Mom with that unruly red hair!). She is pure sunshine! A few hours of play, and Nana is just worn out. :)

I'm still trudging along on my Snowflake hexagon (English Paper Piecing) quilt.


Each night I sit with this basket in my lap and create hexagons then stitch a few together. The snowflakes are done; now I'm working on the portions for the outside edge.

Each hexagon is fabric surrounding a fabric shape; the folds are tacked into place with needle and thread. When sections are sewn into the quilt top...the paper is "popped out" of each piece EXCEPT the outer edge hexies. These are kept stiff with the paper until the quilt is ready to complete.

This is my tredle sewing machine; she's a beauty. 

She is missing the tredle casing and lower plate; so I'm on the hunt to fine these. No luck on Etsy or Ebay but am still looking. 

Lastly, the latest book is coming along...at the publishers and expecting a release date after the first of the year. Seems that this one is taking way longer to pull together than before, but expect the publisher is having staffing problems or something.


Friday, October 7, 2022

Easy & Quick Design Boards

 Okay, before we get into the EASY part...let me show you the not so easy and not so quick part. Went to the DollarTree yesterday and came home with 10 foam core boards. Cut them into various square sizes last night. Got up this morning and put some black flannel on them (with clear Elmer glue)...all was going so well.

Then, took some 2.5" jelly roll strips (from DollarTree) to cover the edges after watching too YouTube videos that gave me the idea in the first place. Basically, one used a glue gun and the other used Ultra Heat'n'Bond to hold the fabrics down along the edges.


Worked on four large (18" size) boards first...this is the only corner that is really neat and the miter doesn't come close to matching.


This is what most of the corners look like. I tried adding some glue underneath that fold, but even that just was not looking great.


So, changed my plan...and here is the resulting corner for the stack of 8-inch boards. My secret?


And I'm proud of it! The results are great...and even though the only colors I have are chrome, gray, white and black on hand...there are others if you wnt to get really creative. Here is how I apply my edges:


At this stage, the black felt is glued to the board. This was easy...just a willy-nilly back and forth stream with attention along the edges too. I have a ruler and measure the first side at 1/2 inch from the bottom...and put a pin there. Repeat for the other side.

The tape is aligned with the left edge and just nests against both pins...so is about 1/2 " showning on the front.

Then, I wrap the tape around the edge and flatten it out on the back (which is pink in these boards). There is about 1 1/4" of tape on the back side.

Here is what the front side looks like with the one side finished.

And, here's what the finished design board looks like. I have dozens more to finish up...but these are easy and pretty cheap to create. Also, I'm not using up jelly rolls for craft projects...when I'd rather have my fabric for quilts.


Tuesday, August 23, 2022

Embroidery JOY

 My latest little design is a crayola project with embroidery. Designed it to be quick...but that is back to the drawing board. 

My local quilt guild is "Joy Quilters"...so thinking this might end up as a pocket on a tote bag perhaps?


Now, I just have to hunt through the stash for enough and the correct color of fabric for the bag itself. Wanta take bets on whether or now I have to go fabric shopping? Ha!


Wool SEW Quilt Blocks


Isn't this a pretty pattern? I thought so, and signed up for the "most expensive quilt every made" as each month was almost $40 for block pattern, shipping, fabric bits and pieces. Notice how it says "IN WOOL" at the top?

Working on the blocks over the past few months...and just now getting them finished.

So, not have all blocks finished and open up the last month's package (backing fabric and border fabric)...and THOSE THREAD BLOCKS are not wool but cotton! Am totally disappointed and honestly, feeling a little bit ripped off. But, I like the blocks...and will finish the quilt differently than their pattern. Will also make the cotton spool blocks into a smaller wall hanging. But, WILL NOT EVER purchase or sign up for a block of the month from these folks again. There, I have put my intentions in writing...and am sticking to my plan!


Fig Strawberry Jam

 Last week, my SIL and I went to pick figs...lady offered them and said "bush is loaded down". Well, it was...with mostly green ones. So disappointed. We got a good Cool Whip bowl full.

There is a lot of "empty" in that pot! But, still was enough for 3 small jars full.

One for me, one for Mom, and one for SIL!


Friday, August 5, 2022

Beautiful Kentucky and Sweetest Friends

 My bestie Sharon drove up from south Alabama to go with me to a teaching gig in Elizabethtown Kentucky last week.


Love this photo...now doesn't she look like one fun gal? She is so sweet!

We had a great time on Wednesday night at the lecture/trunk-show with the entire quilt guild. No photos...but we totally enjoyed the visit. Then, on Friday/Saturday a few ladies joined me for some personal instruction.


Their 2nd VP (Vonnie) had everything organized wonderfully..and everyone had a great time. They even got through most of the embellishment phase. Well done ladies!


Thanks Vonnie for sending me the photos too...as I was too busy with teaching to remember to even take a single shot!